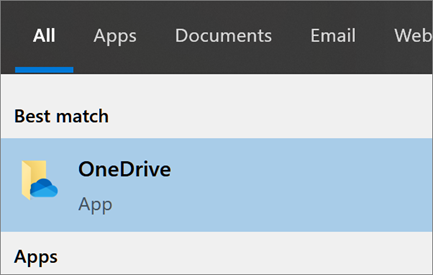
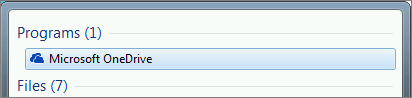
Select the Start button, search for “OneDrive”, and then open it:
In Windows 10, select the OneDrive desktop app.
In Windows 7, under Programs, select Microsoft OneDrive.
In Windows 8.1, search for OneDrive for Business, and then select the OneDrive for Business app.
When OneDrive Setup starts, enter your personal account, or your work or school account, and then select Sign in.

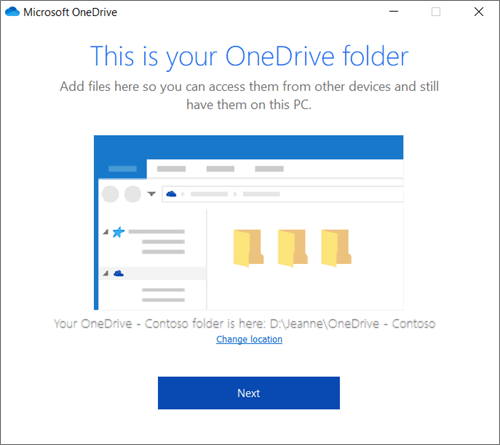
On the This is your OneDrive folder screen, select Next to accept the default folder location for your OneDrive files. If you want to change the folder location, select Change location - this is the best time to make this change.
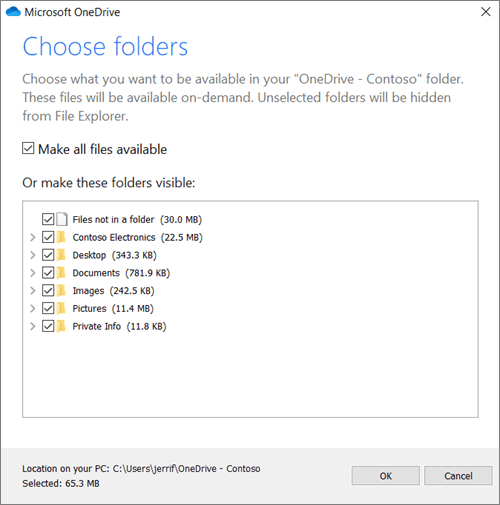
On the Sync files from your OneDrive screen, choose the folders you want to sync, and select Next. This helps control the amount of space OneDrive files take on your computer and conserves bandwidth during sync processes. You can change this later in Settings, but this is a good opportunity as well.
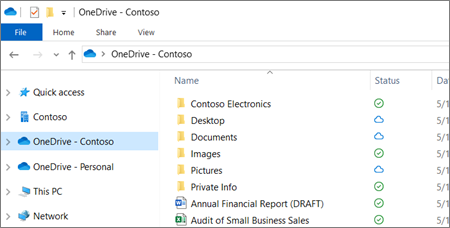
You're all set. Your OneDrive files will appear in File Explorer in the OneDrive folder. If you use more than one account, your personal files appear under OneDrive – Personal and your work or school files appear under OneDrive - CompanyName.